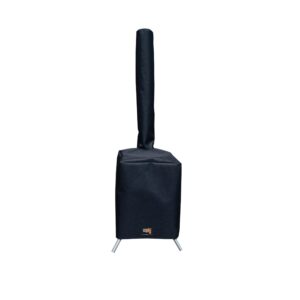
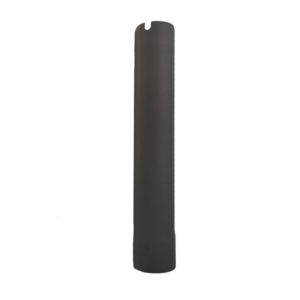
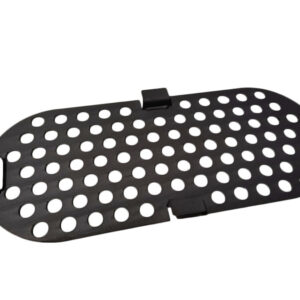
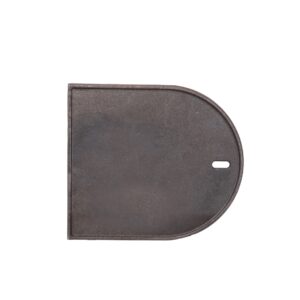
Sale!
The Ozpig is a clever Aussie invention created by a family with a love of the great outdoors. Hearty appetites and a passion for travel inspired the Shepherd family to develop a unique, multipurpose cooker that offers convenience and endless cooking options. At the same time, they also wanted the ambience of an open fire and a versatile heater that could be used on their outdoor adventures. The result was the Ozpig.
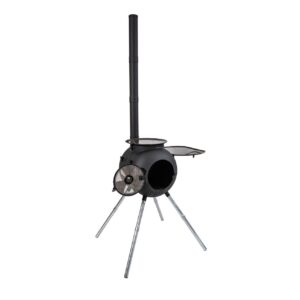
Named after its solid design and squat shape, Ozpig is robust, ingenious and versatile. Plus its raised, off-the-ground design is a game-changer – allowing it to be used in many locations where an open fire is not permitted. (However, we always recommend you check local regulations.)
Showing all 18 results
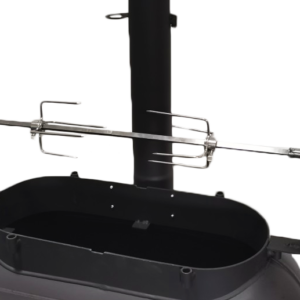
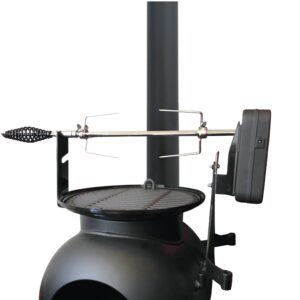
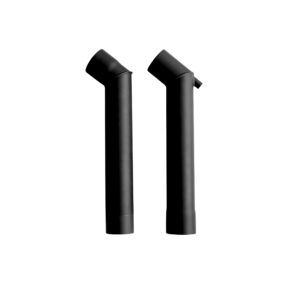
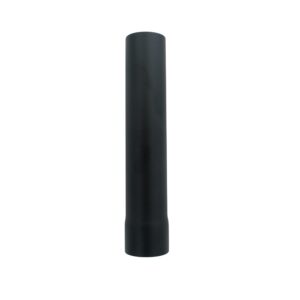
Mounted on stable legs, Ozpig lets you cook up a storm without bending over a campfire, while the compact chimney directs smoke away from the chef. Plus Ozpig is much more flexible than a BBQ, enabling you to enjoy baking, chargrilling, deep-frying, wok cooking, rotisserie roasting or just boiling the kettle for a cuppa.
Fire up the fuel-efficient Ozpig using your choice of easy-to-carry fuel including timber, heat beads or volcanic rock. Plus with its Australian heritage, the Ozpig has been built tough to withstand the harshest conditions – with very little maintenance needed. So there’s a good chance your Ozpig will outlast you!
Following these few key pointers will help you to get the most from your Ozpig when using it for heating. While the Ozpig is an efficient 360 degree heater it’s only natural that the majority of the heat will come out of the front with the door open.
For best results always use with the door open while sitting in front of it.
Closing the top BBQ plate will push more heat out the front which is best for 2 or 3 people sitting in front. Conversely leaving the top open with the BBQ plate swiveled to the side will allow a larger fire with more 360 degree warmth for a larger crowd.
Firewood quality will also play a role in how warm your fire is, try to use a good quality hardwood that produces long burning high heat coals.
Ozpig positioning is also very important, if possible a marquee with walls to trap the heat in is very useful, or if at home a house or patio wall can direct heat back onto you.
It may be necessary use a wind break when in open windy areas to prevent the heat been blown away.
A sheet of corrugated iron or other non-combustible material behind the Ozpig or behind the crowd can hold heat in.
By far the most important skill a new Ozpig owner will need to learn is how to light and maintain a good quality fire.
The questions we are asked the most is, How do I keep my fire burning? How do I stop my fire smoking?
By perfecting this skill you will be able to control your fire for correct cooking temperatures and keeping warm as well as having a smoke free Ozpig experience.
The Ozpig chamber is designed to be compact and run off minimal fuel, therefore the small chamber requires adequate ventilation to keep the fire burning.
The most important place to start is with good quality firewood. Hardwood is the best as it will burn long and slow
producing some good hot coals.
Ironbark, gidgee, box wood, redgum are all great woods. Be careful of anything that may be treated such as some pallets, fence palings, house stumps, railway sleepers as they can make you extremely ill.
The wood must be dry and well seasoned as any remaining sap will smoke heavily and hinder the wood from catching alight as well as leaving a residue inside your chimney.
If you hear any sort of hissing sound coming from your timber while it is burning chances are it’s not seasoned well enough.
Once you have a good supply of timber the next step is to cut it up to the optimum sizes. You will need a sharp axe/splitter and a chopping block is also handy. It’s best to have 3 different sizes on hand.
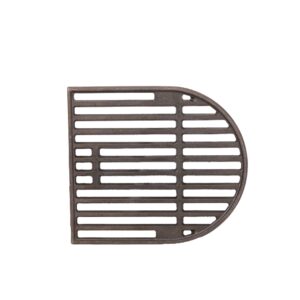
Once your timber is cut to size you are ready to build a fire. Make sure any leftover ash is cleaned out of the pigs belly under the fire grate to help with airflow.
A small fold up shovel or garden spade is perfect for this job. Open the door fully and swivel the cooking plate off to the side. There are a number of ways to start a fire ranging from dry leaves, rolled up newspaper etc.
By far and away the easiest and most convenient is a firelighter. Place your leaves, firelighter or newspaper in the middle on the grate and arrange some kindling sized pieces to create a teepee shape.
Another method is a ball of newspaper on each corner of the fire grate. Light up your fire starter or paper and allow the timber to catch fire for a few minutes, when it is alight put a couple slightly bigger pieces on.
Allow these pieces to catch until you have a nice solid fire burning then you can add another couple of pieces as required to build the size fire you need.
Never add too much at once as you will starve the firebox of oxygen which will produce smoke. Continue to add more timber as the fire burns until you have a nice bed of coals built up.
Always add more timber while there is a flame burning, don’t wait until it goes out or you will have more trouble firing the new piece of timber up and it will produce a lot of smoke.
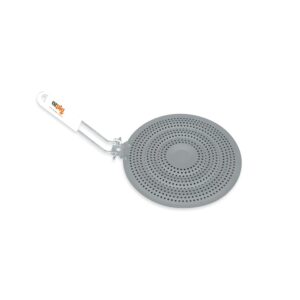
Once you have the good bed of coals you can then swivel on the BBQ plate to cook with, or add your fry pan/camp oven, heat diffuser etc and close your vented door.
Always leave the original solid door open if you are going to close the top.
If you find the fire dying off a little as you are cooking a good tip is to slide your camp oven or BBQ plate off to the side a touch to leave a gap at the back to allow extra oxygen in, after a couple minutes your fire should have rebuilt a lot stronger.
**never leave the fire unattended, and as with any fire, it is a good idea to have a bucket of water on hand.**